The process varies a lot depending on the computer that you are using. Traditionally, you would open the BIOS menu and change the order of drives in the BOOT menu. Newer computers use UEFI instead of BIOS, which needs to be accessed in a special way if you're using Windows 8.
Reboot your computer, and look for the BIOS or BOOT menu key when the manufacturer’s logo appears. Press the setup key to open the menu and change your boot order. The setup key is typically F2, F10, F11, or Del. Make sure that the USB is listed as the primary boot device.
Then you’ll see a screen saying: ‘Press any key to boot from CD or DVD ….’
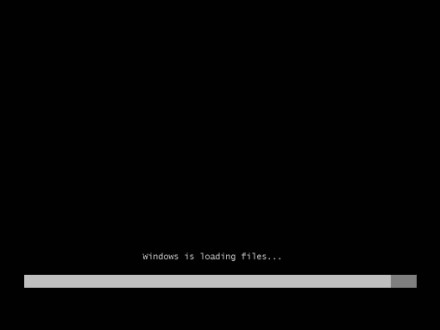
A black screen with a progress and the message ‘Windows is loading files’ will appear as shown above.
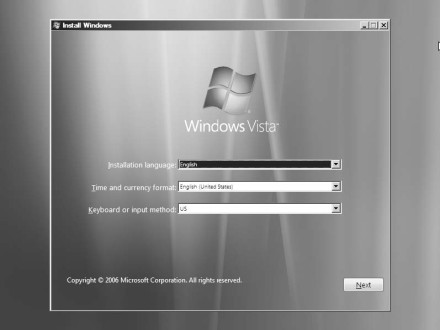
Eventually, the screen will display a multi-coloured drape effect, and the initial setup window appears as shown above. Here, you can configure the language, time and currency formats, and keyboard or input method you’ll use during setup.
Click Next. The Install Now window appears as shown in the above screenshot. To continue with Interactive Setup, click Install Now.
In the next window, (shown above), enter your Windows Vista product key.
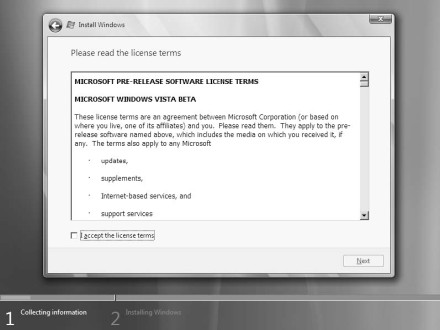
Accept the license terms by clicking the checkbox. Wait until Windows installation completes, and Windows Vista will be up and running. Congratulations!


